Error!
Oops something went wrong, please try again later.
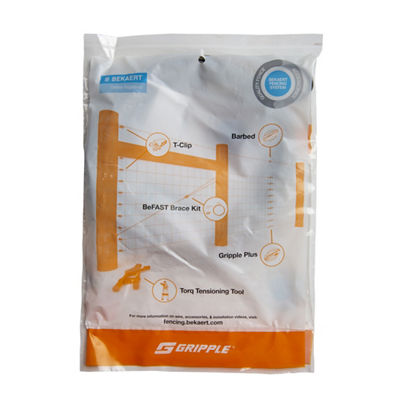
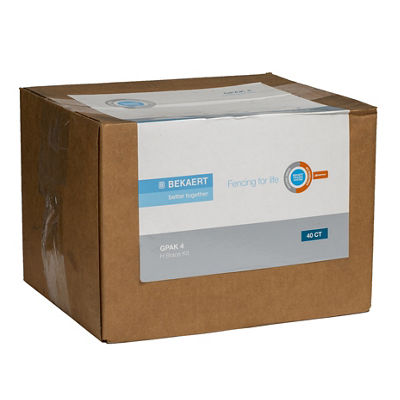
The Fence Pros at Bekaert demonstrate the proper way to install an H brace using a BeFAST kit, formerly known as a GPAK4 kit. This Gripple brace kit is a time and labor-saving piece which installs in less than one minute. It is available for purchase here.
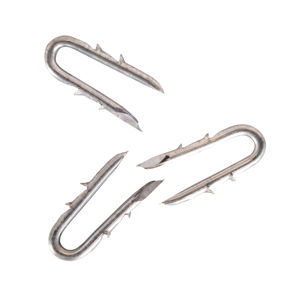
Installing a H-brace is simple and takes a few minutes. After you have driven the staples in your line post, wrap the 16-foot galvanized cable through the bottom staple and circle the post, before bringing the cable up and threading it through the loop.
Press against the line post before bringing the cable up to the other post. Attach the Gripple joiner to the end of the cable and pull the joiner further down before wrapping the cable around the post, between the brace pin and the staple.
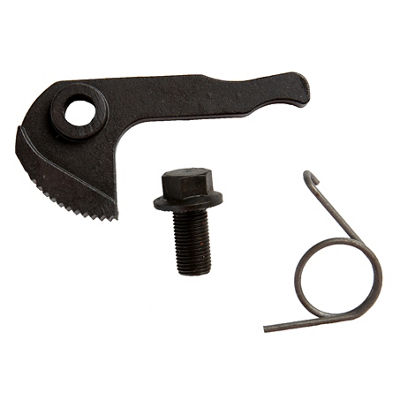
Thread the wire through the Gripple joiner’s opposite channel as a way of connecting the H Brace. Pull the excess wire through the Gripple with a Torq tensioning tool to make sure it is secure.
Building a H Brace is quite easy, but you want to be sure to avoid some common issues. First, be sure to install your posts sufficiently in the ground before building the brace. A good rule of thumb is to have your line posts up to 40 – 50% in the ground. You want to have significant ground support for your fence installation. It ensures the brace remains strong.
When drilling holes in your posts, holes should be deep enough for your brace installation. In wood posts, an ideal width would be 3 ½ inches and 4 inches in pipe posts.
There are multiple brace styles that could work for a fence. It all depends on how deep your posts are, the soil type on your land, and the width of the post and material.
Taylor recommends building the strongest brace you can. Choose the style that works the best for your fence.